If your Simonini is getting hard to start or you think your battery isn't providing enough juice to your starter motor when cranking, you may have a clogged up decompression port. Anyone with a little mechanical ability and some common tools can get their motor back in tip-top shape and starting like it was brand new. Just follow the steps below and your motor will love you for it. It is recommended that this maintenance be performed every 20-25 hours of engine run time.
Here are the tools you will need in order to perform this relatively easy maintenance:
- Tie strap
- 12mm socket
- Alan/hex head wrench (one that came with your motor unit)
- 1/16 & 3/32 drill bits
- 220 grit sand paper or brillow pad
- Air compressor (nice to have)
|
|
Step 1:
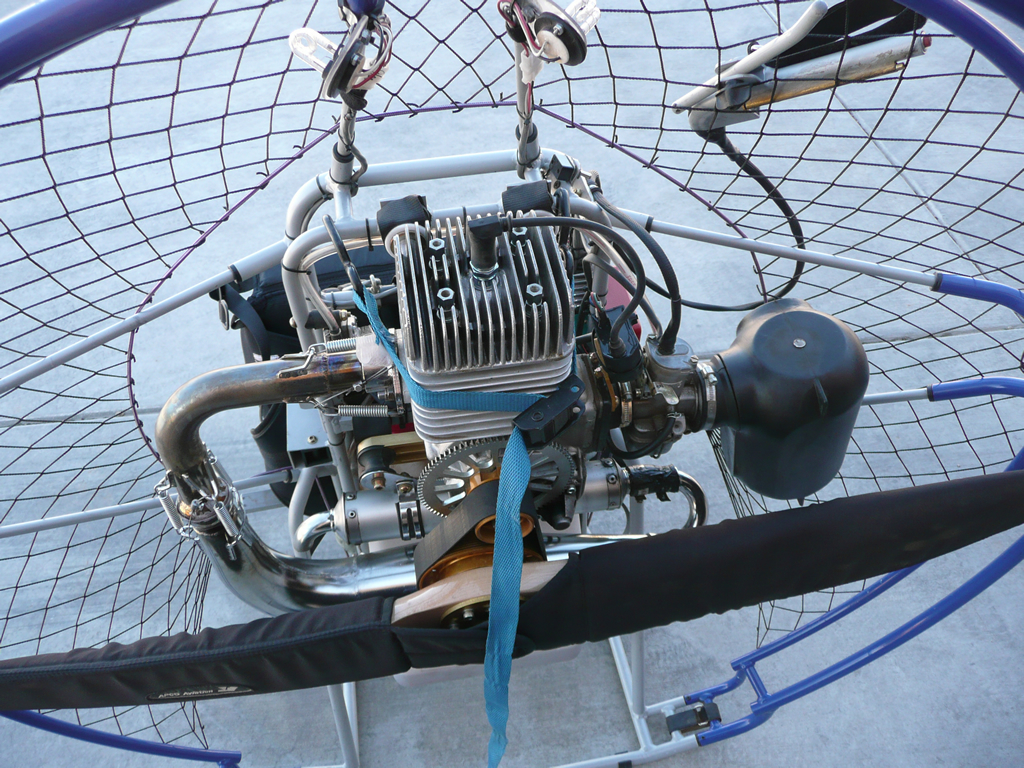
Make sure the master switch is off. Secure motor in place by running a tie down or rope from one side of the frame, around the lower portion of the cylinder (below where the cylinder head cover separates) to the frame on the opposite side. Loosen the 4 cylinder head bolts with the 12mm socket (loosen one, then the one diagonally across from it and so on), remove the spark plug cap and remove the spark plug. Loosen and remove the two upper hex head motor mount bolts on the front of the motor, this is where the strap comes into play and keeps the motor secured in place.
|
|
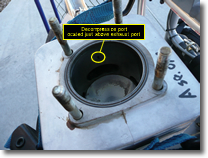
Step 2:
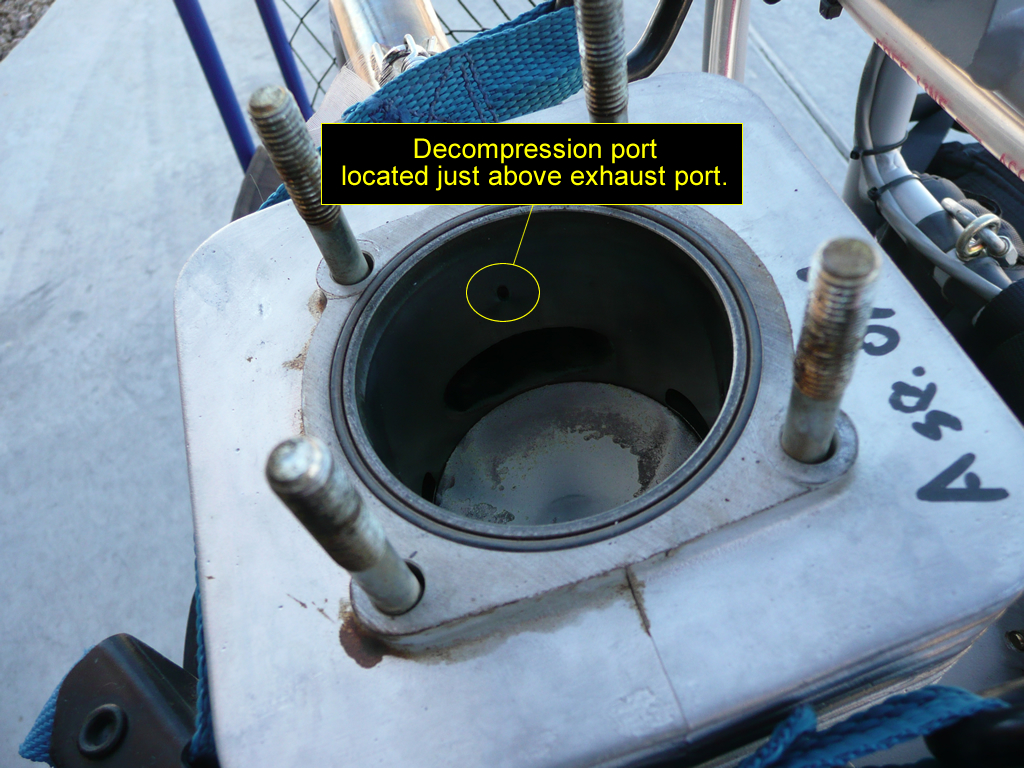
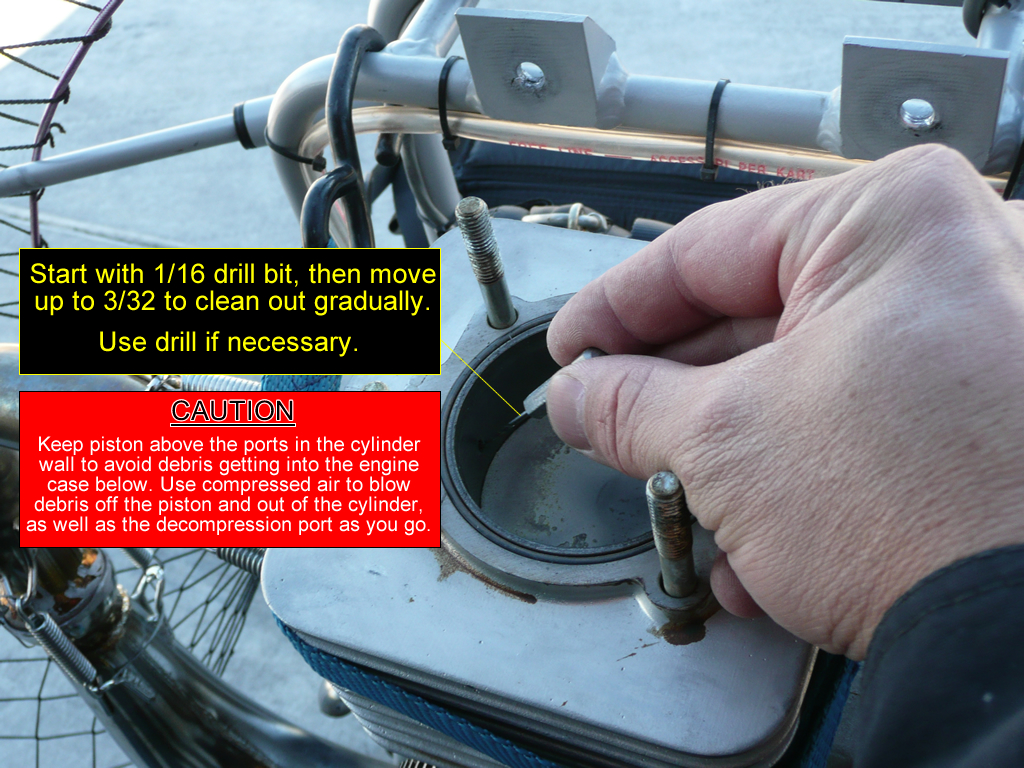
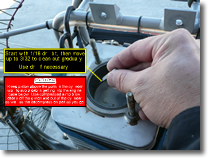
Remove the cylinder head and set if aside. The decompression port is a small hole on the left side of the cylinder wall as you look into the cylinder from the back of the motor. Lower the piston below the decompression port but above the exhaust port, this prevent crud getting into the crank case. The hole is drilled diagonally from the cylinder wall into the exhaust port. Use a 1/16 drill bit and to gently ream out the carbon buildup in the decompression port. Start slowly and with good lighting, you will be able to feel your way and match the angle of the decompression port. A bit of twisting the drill bit with your hands while moving it back and forth in the port should do it. Then move up to a larger drill bit to ensure a totally cleaned out port, try a 3/32 drill bit, if it's way to tight, DON'T USE IT. Use an air compressor to blow out any debris on the top of the piston and in the decompression port. If doing the reaming by hand isn't working, you can use a drill, just be very careful!
|
|
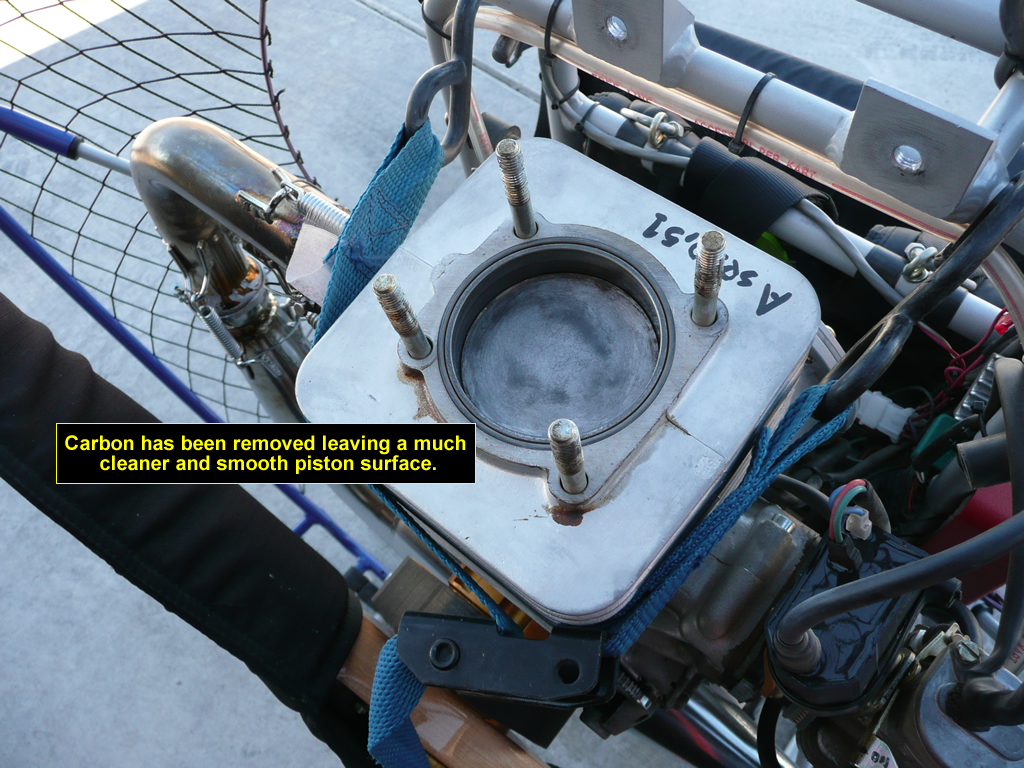
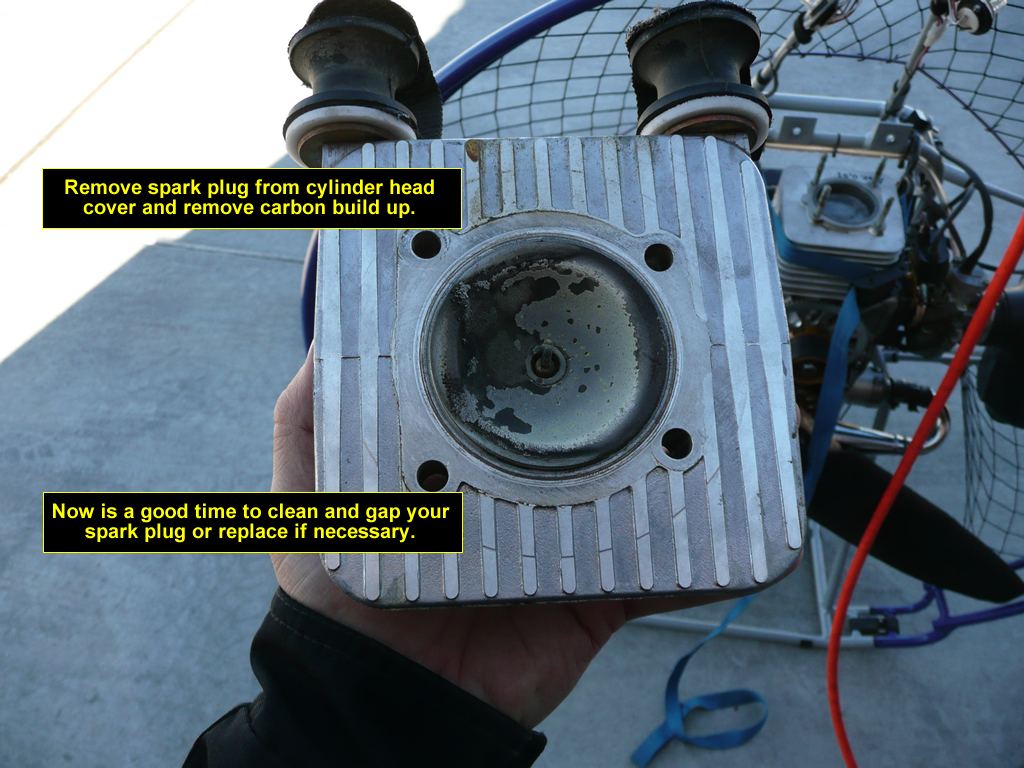
Step 3:
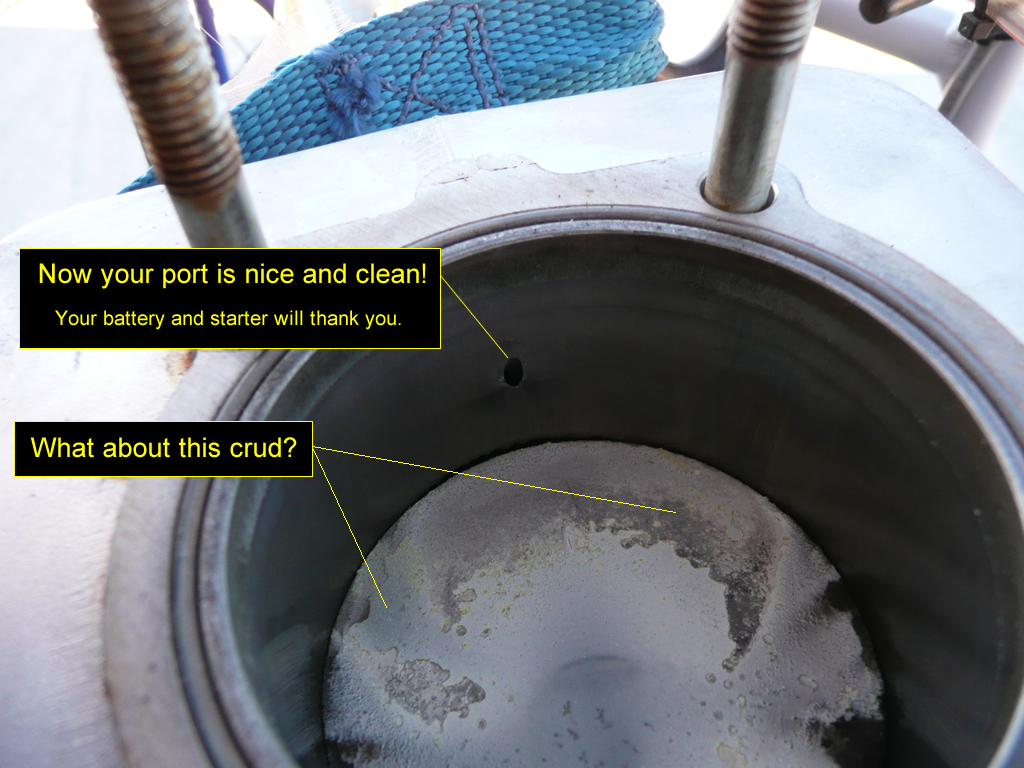
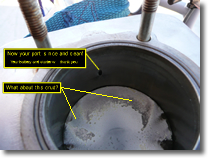
Turn the prop to make sure the piston at the top of the cylinder, us a brillow pad or some 220 grit sand paper to lightly remove any large build ups of carbon on the piston. Do the same for the bottom of the cylinder head you removed earlier. Clean up the spark plug with some sand paper and use the air compressor to remove any fine dust. Now would be a good time to check the spark gap and if the plug looks pretty beat up, just replace it with a new one.
|
|
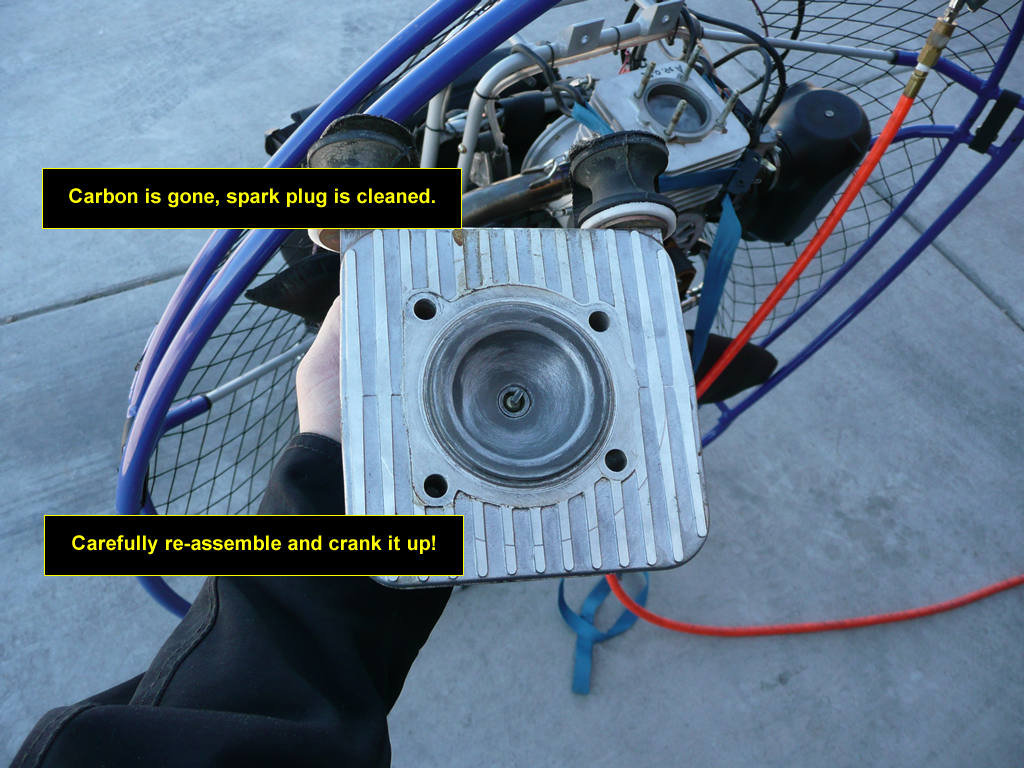
Step 4:
Now put it all back together making sure the cylinder head is all the way down on the lower cylinder with no gaps or space. Thread the 4 cylinder head bolts onto the studs and tighten evenly. Tighten one bolt a bit, then the one diagonally across from it, and so on. Don't just tighten a bolt all the way, only tighten a little, and go around the horn a few times until they all are tight. Then insert the motor mount hex bolts you removed with the alan wrench earlier, make sure these are good and tight. Remove the tie down strap.
|
|
Step 5:
Put the spark plug cap back on, because that is a critical component to a motor that starts easily and reliably. Secure your motor and give it a test run, it should start up very easily and now you won't have to worry about hard starts for another 20 - 30 hours of flight.
|
|
|